Cakes are always the centrepiece for any celebrations and children's birthday parties are no different. All children like to have a fun birthday cake often decorated with things that they like. One great way to turn a cake into something special is to make a cake topper which is either edible or meant to be kept. If you want to know how to make a cake topper for children, here are some ideas.
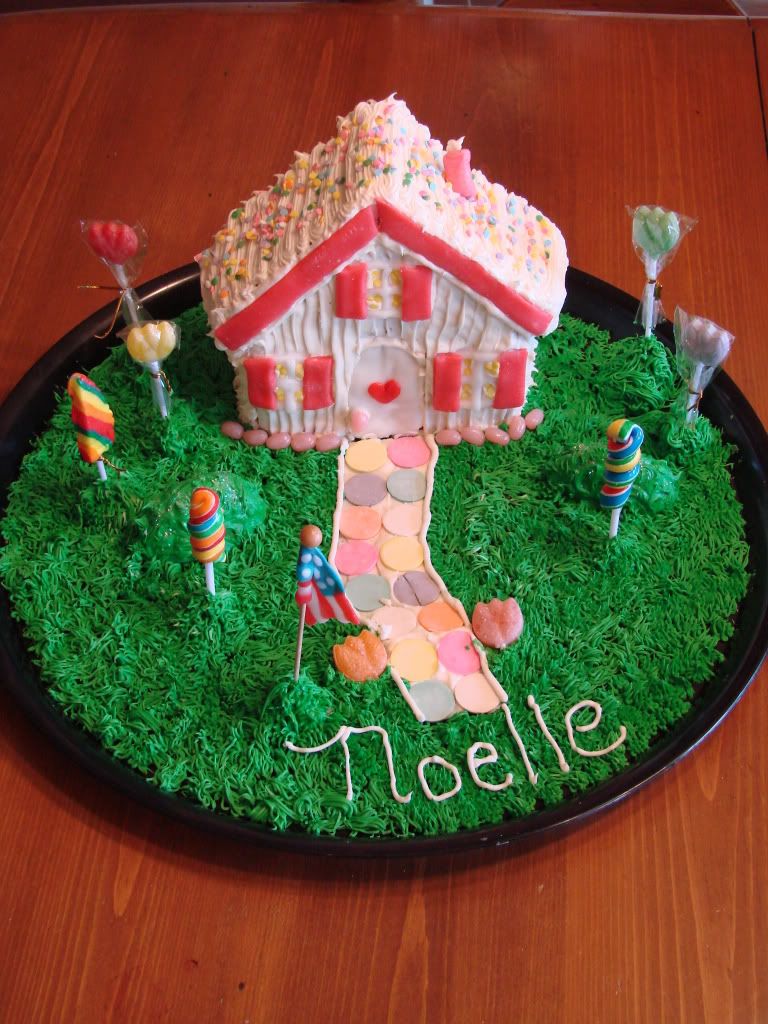
Candy Land cake
One really easy cake topper for children is one that is made from candy. You can arrange these in some fantastic patterns or create a number from them. This type of cake topper is great for anyone who is in a hurry.
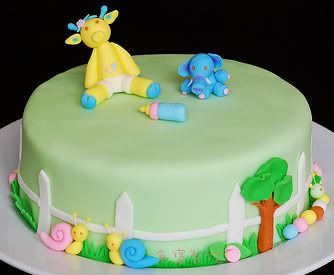
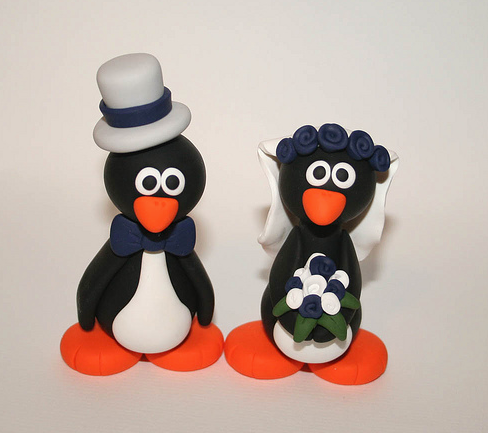
Animal Kingdom baby shower cake
If you have more time on your hands why not buy a pre made cake topper and customise it? Here you can let your imagination go wild. If the child likes animals there are some excellent animal toppers that are both edible or non edible. Add to these your own personal touches for a truly memorable cake topper that everyone will love.
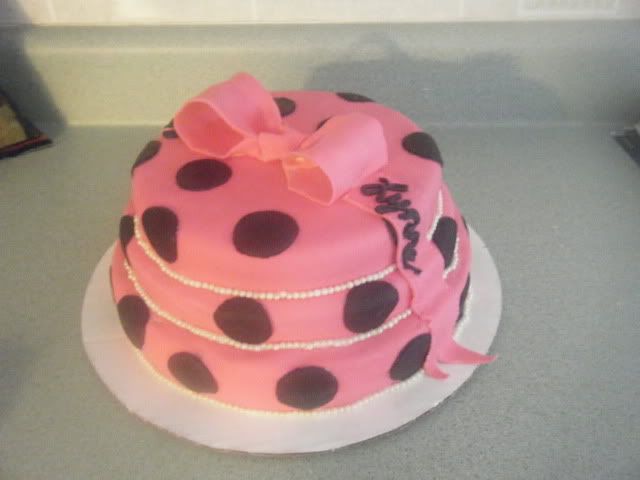
Girly cake topper
Girls tend to go for cake toppers that are along a girly theme. So for this why not make some cute edible flowers in her favourite colours? Or how about a princesses crown made from royal icing that you can put on top of her cake? Remember that all children love to try the cake topper so make sure that you make it sweet and tasty and they will be coming back for more.
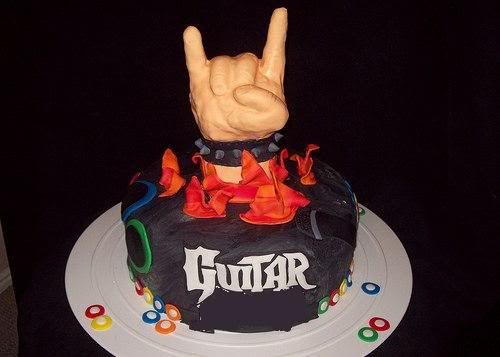
Guitar Hero cake topper
Boys on the other hand prefer to have their cake toppers a little more gross, so add to it candy bugs and worms. Or why not create a racing car from royal icing or a favourite cartoon hero. Once again the sky is the limit with this kind of topper.
These are just a small selection of ideas on how to make a cake topper for children. There are of course thousands more that you can try out. Just remember that even the simplest of toppers can look great, so go for it.


 Do you want to know how to make a monogram cake topper but you do not know where to start? Well this article s designed to give you a few tips to get you started. Here are a few easy steps to guide you.